
YEOW ARCHI-PORTFOLIO
Project 1: Modelling of an Architectural Design
FIRST WEEK - CONSTRUCTING FLOOR PLANS


Constructing floor plan

Categories components
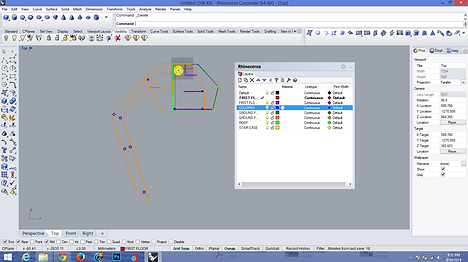
After the very first tutorial , I learnt how to construct the floor plans. I start by using polyline to construct the components of my final project from SEM 2 in 2D form. Then , I categories the components into layers in order to perform a better, more systematic and efficient 3D modelling. With the help the the "edit layers", I could easily reach the components I wanted to access to, and then edit or hide them to make life easier.
SECOND WEEK - FROM 2D TO 3D

In this week, I started to convert the 2D floor plan into a 3D building structure. By using "extrude surface" , I extrude the flat component surfaces into desire height.
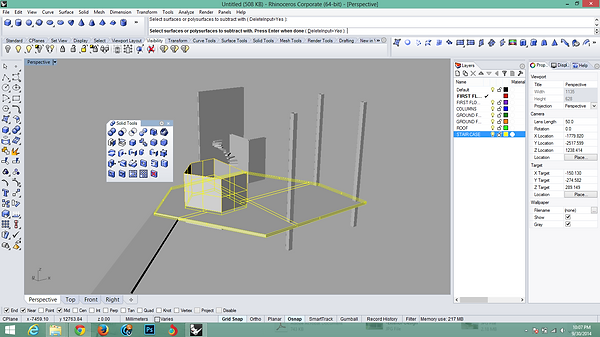
Next , I started to create the openings on my floor plan by using "boolean split". I constructed opening surface , extruded it and used it as a cutting object while the ground floor surface as a splitting object. When it's done , I removed the cut surface and thus an opening is created.
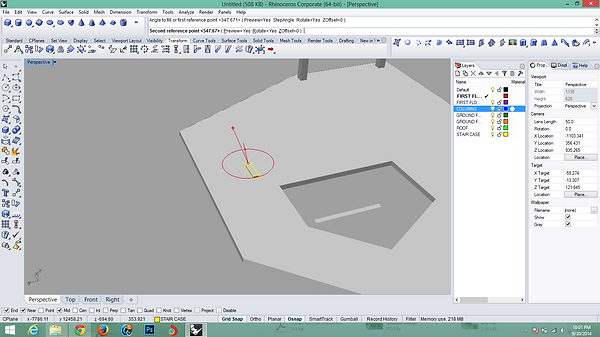
Then , in order to create a spiral stair case , I have to use "polar array" First , I created a block of the size of standard staircase and find the centre point of array. After that a series of adjustments and settings are to be done to fit the staircases into the buildings , such as extended height and numbers of staircases.

Completed spiral staircase.
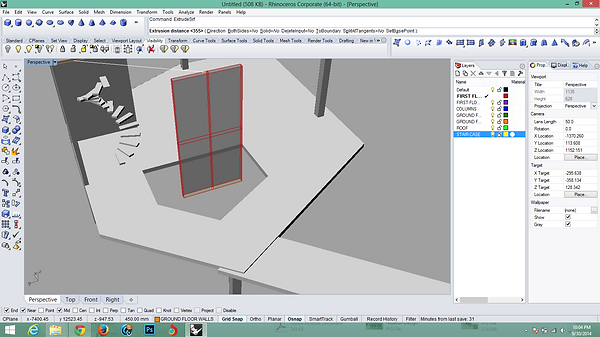
After that , carry on with extruding the remaining components such as walls , columns and any supporting structures until every single 2D elements are converted to 3D forms.

Completed structure. The details of this buildings such as materials, and others will be further enhance in 3Ds Max 2015.
WEEK 3 - MAKING OF LANDSCAPE

Before I could construct the landscape using "drape" , I created some of the geometric shape polysurfaces that more or less resembling to the landscape of actual site.

Then, by using "drape" I pulled a window over these geometric objects to form the landscape/contour of the site. However, before we press enter, we have to do some simple setting such as the point spacing density.
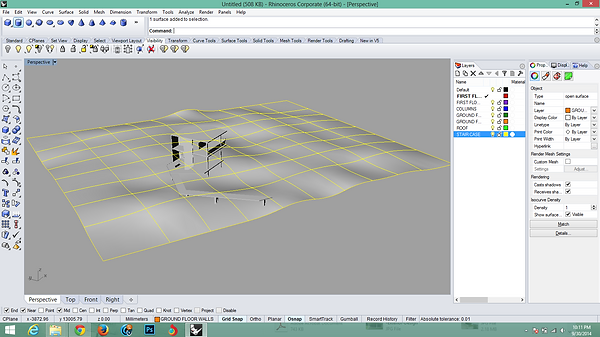
Completed landscape.
PERSPECTIVES OF COMPLETED STRUCTURE


Project 2: Still Rendering with Materials, Lights, Camera Views with Site Context
(A) EXTERIOR RENDERINGS
Work in progress (WIP)

I start my project 2A by creating grass carpet. I used the "hair and fur" found in modifiy list to generate grass, and by adjusting the scale, colours and finally bitmap the grass texture to make it looks more realistic. Then, I edit the data for water surface by bumping it and adjusting the reflection to show the water features that suit my site.
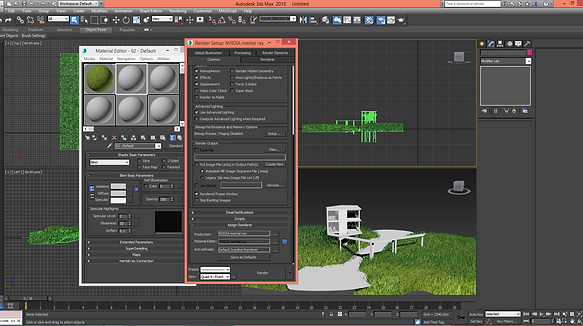
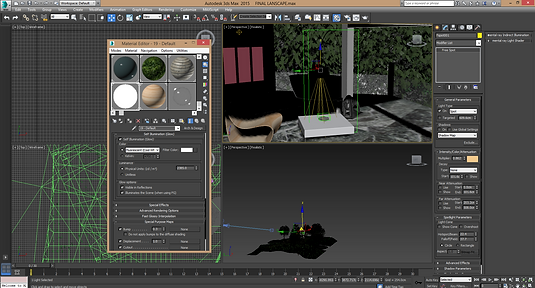
Assign renderer. I chose NVIDIA mental ray as Im more use to it.
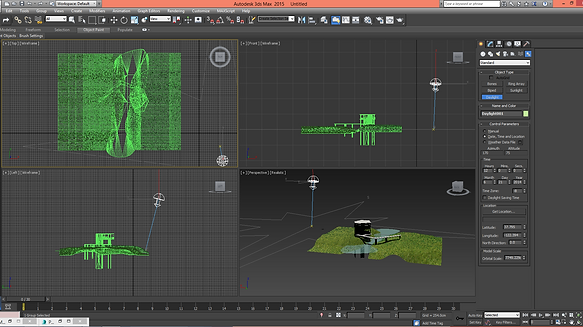
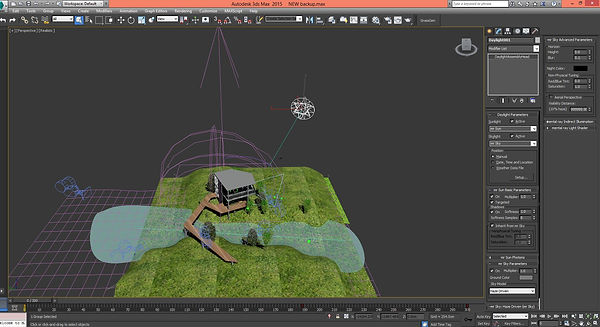
Next , I locate the mental ray daylight so that there are shadows cast on the surrounding. I move and rotate the light source that represent sun so until the desired angle appeared.

After that, I put it in the 3D model trees I found on internet. Then , I drag in the texture and bump files so that the 3D trees look like a real trees.

Put in human figure to suggest building scale.
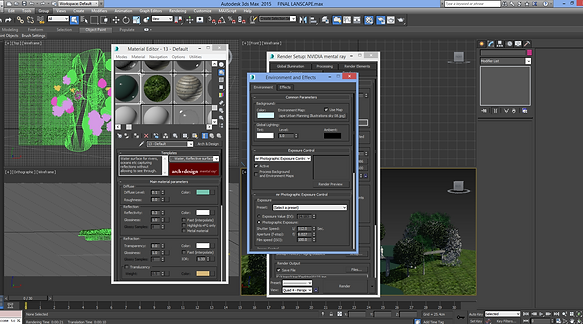
I took a background that is close to my site and bitmap it in "environment and effect" under "rendering" bar.


Before I start with rendering, I did a last editing and adjusting on all the trees , grass and water surface on "material editor".
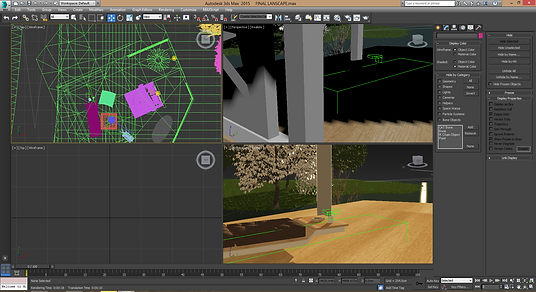
Place camera in different angles and directions to capture the best views.

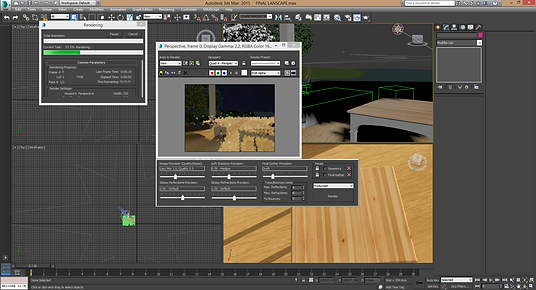
Then , I set the resolution of output photos lower.This is a wall be a testing rendering to make sure all the lightings, shadows and materials look fine.

Start with the "testing" render to double confirm the accuracy of lights, shadows and colour before proceeding to final render. This is to save time as final render will take much longer and if something goes wrong , our time will gone wasted.
Exterior renders
 Front view |  Bird eye view |  Bird eye view 2 |
|---|---|---|
 Rear View |
(B) INTERIOR RENDERING
WIP (Process below does not follow sequences)

Assigning cameras for the best view.
Placing the furniture(3D objects downloaded from internet) respectively.
Assign materials accordingly with the aid of simple adjustment such as bitmap and bump to show texture.
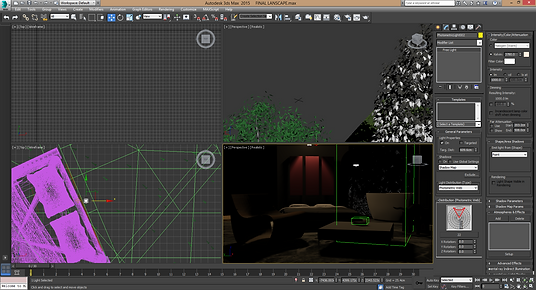
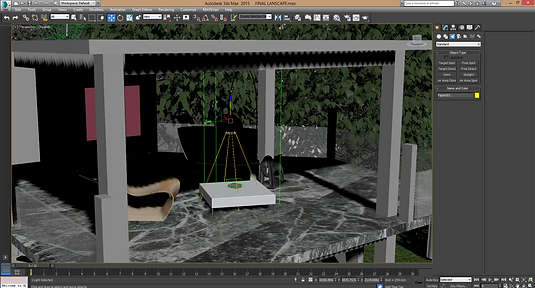
Adding lightings for interior spaces. All kind of photometric and standard lights were used to capture the architectural accents. Adjustments such as intensity and colours were done on spot.
Rendering tests to check if the lighting effects are good enough before final render.
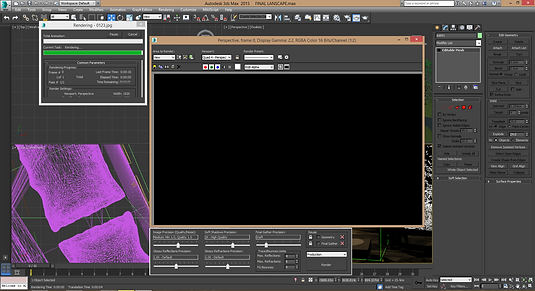
Final rendering.
Title. Double click me.

Post production to make it look even more realistic.
INTERIORS RENDER OUTCOME

Bedroom Night time
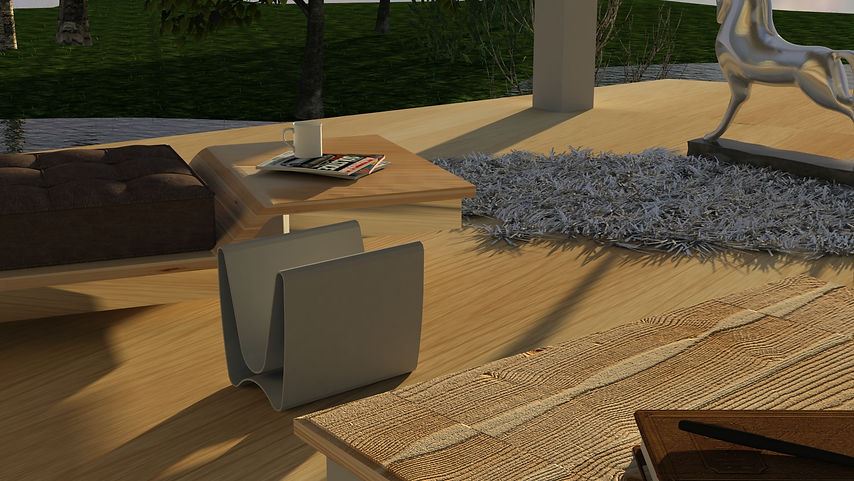
Living Room Day Time
Computer Application Project 3 (WIP)
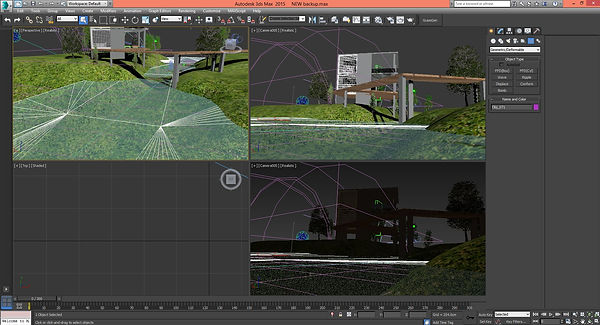
Setting up camera

Setting up camera accordingly for walkthrough. The cameras will be either human eye level or from a different angles to capture the architecture language.

Consturct a path for walkthrough. This path will be use as path constraint for camera walkthrough assistant. The camera will follow this path automatically for the whole journey. Simple adjustments such as viewing angles, stock lenses should be done for best results.
Animating moving water
To make the water even more realistic, i used the "space warps" > "geometry/deformable" > "wave" tool to give the water wave-like , flowing effect during the walkthrough. After the adjustments, the wave should bind to the water surface.

Animating moving grass

Same as before , construct a path for wind direction. Then, generate the wind using "space warps" > "force". This wind will then be use to simulate the moving grass effect. The strength and turbulence should be adjust for a smooth , calming moving grass effect which fit my site perfectly.

After generating the grass using hair and fur tool, assign the wind forces under the external force bar then the grass will start moving.
Preparing for the walkthrough
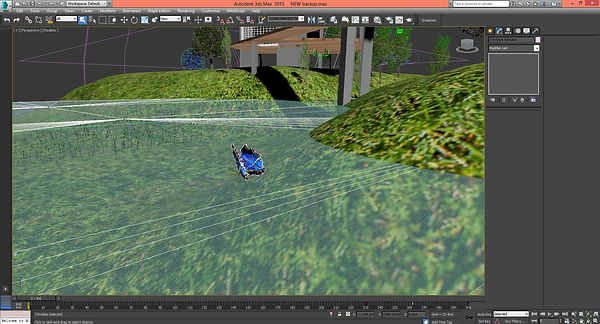
Using some objects to lead the camera for overall view of the building make the video lively. The objects, for example, butterfly will be move from one place to another. This have to be done when the auto key is turned on and the setting for time configuration is done. The frame rate for moving objects for each movement is 10-15 for a smoother movement.

Preparing for rendering
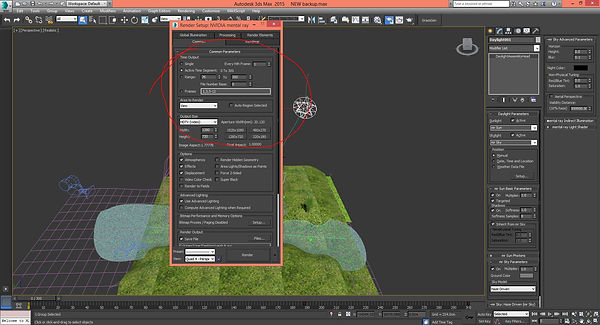
Under the render setup , we chose to render either active time segment, which means complete walkthrough for a camera or from a range of particular frames.
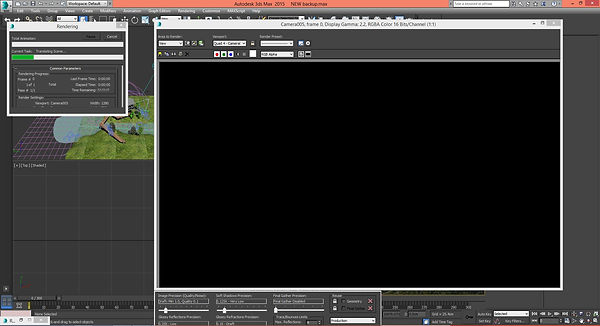
Test render for animation before I go into final render.
Video editing

After the rendering is done, the videos we got will be compound together using video making software. I use window movie maker as it's very handy to use.

Different parts of videos will be place together under this software, the unwanted part will be hide using trim tool , and the speed of the videos will be adjust and lastly the after effect for the videos will be go through so that the transition between every scenes flow nicely.